

Select dimensions in cm, mm, inches, ml, or oz and more — whatever fits your product.


A well-planned dieline connects packaging structure to the artwork customers will eventually see. At Custom Boxes Inc., dieline support, artwork checks, digital proofs, and design assistance can help coordinate panels, folds, seams, closures, opening areas, print placement, and selected finishes before production. The process starts with accurate product details, box dimensions, material direction, intended use, and brand files. From there, the visual hierarchy can be mapped across the real package instead of treated as a flat front panel. Share your product, structure, artwork, quantity, and presentation goals so the box design and dieline can be reviewed as one coordinated packaging project.

Select dimensions in cm, mm, inches, ml, or oz and more — whatever fits your product.

Choose the Stock, printing type, and enter your order quantity.

Upload your ready artwork — or just write “Need Design” and we'll handle it.

Fill in your name, contact number, and email for quick communication.

Solve a quick captcha and hit “Submit Quote” — it takes seconds!

Our expert will reach out ASAP with the best market rate from a top packaging provider.

After You Approve the Quote — Here's What Happens Next


A dieline connects the physical box to the artwork that appears on it. It provides a working map of panels, folds, seams, closures, and opening areas so the design can be planned around the real package rather than a flat rectangle. This becomes especially important when a custom size, insert, window, special closure, or selected finish is part of the project. At Custom Boxes Inc., dieline support, artwork checks, digital proofs, and design assistance can help bring structural and visual decisions into one process. The goal is a clear packaging plan in which the product, box style, printed panels, and opening experience support each other.
Before artwork is placed, define what the box needs to contain and how it will be used. Include the product dimensions, weight, shape, wrapping, accessories, and any printed pieces that belong inside. Explain whether the package will be displayed at retail, shipped to a customer, handed over as a gift, used for samples, or presented as a product set. These details provide context for custom sizing and structure selection. The customer journey also influences the design. A shelf-facing carton may need the front and side panels to communicate quickly. A mailer may place more emphasis on the lid and the opening sequence. A rigid box may use exterior and interior areas as part of a more developed reveal. Starting with the product and intended moment helps the dieline reflect the real packaging requirements instead of serving as an abstract artwork template.
Length, width, and depth shape every panel in a custom box. They influence the available artwork space, the relationship between front and side panels, and the room required for an insert or divider. Accurate product measurements are therefore part of the design brief, not separate technical information. Product photos, samples, or a clear packing layout can add context when the item has several components or an unusual shape. The selected structure changes how those dimensions work together. Mailer, tuck-end, sleeve, display, gable, rigid, and other custom directions each create different panels, openings, and closure relationships. A dieline should be developed or reviewed for the chosen structure and dimensions. Reusing artwork from another box without accounting for these changes can create an uneven layout or place important information in the wrong area.
Treat the dieline as a complete view of the assembled package. Identify the main front, back, sides, top, base, interior areas, folds, seams, and closure panels before designing. Then consider which surfaces customers will see first and how the package changes as it opens. This makes it easier to assign a clear role to each panel. Important logos, product names, instructions, and graphic details should be positioned with the folds, seams, and opening areas in mind. A pattern may continue across several panels, while a central message may need to remain within one clearly visible area. Interior printing can be considered for appropriate projects when it contributes to the reveal. Mapping these decisions on the dieline helps the artwork feel continuous when intended and properly separated where the structure requires it.
Start with the message that deserves the most attention. The brand name, product name, variant, illustration, or key point of distinction can lead, while secondary details support it. This hierarchy should remain understandable across the front, sides, lid, and any selected interior panels. Adding content without assigning panel roles can make the package feel crowded even when the artwork looks balanced on a computer screen. Use repeated colors, typography, patterns, or logo placement to connect the panels. The design does not need every surface to look identical; it needs a consistent visual logic. For a product family, the same framework can carry across different sizes or structures while product names, variants, illustrations, or supporting colors change. Keeping approved dielines and artwork files organized gives future packages a useful starting point.
The dieline is also where printing and finishing locations become specific. Digital or offset printing, CMYK, PMS/spot colors, and selected metallic or white-ink directions can be considered according to the project. The material—whether paperboard, cardstock, kraft, corrugated, or a rigid-box wrap—creates the visual setting for those choices. Finishes such as matte, gloss, soft-touch, aqueous coating, foil stamping, embossing, debossing, spot UV, and raised effects should be assigned to defined areas of the artwork. A logo, title, border, image detail, or pattern may be selected for emphasis. Mapping that treatment on the correct panel helps keep it away from structural areas that could interrupt the intended design. Material, print, color, and finish decisions should therefore be reviewed together.
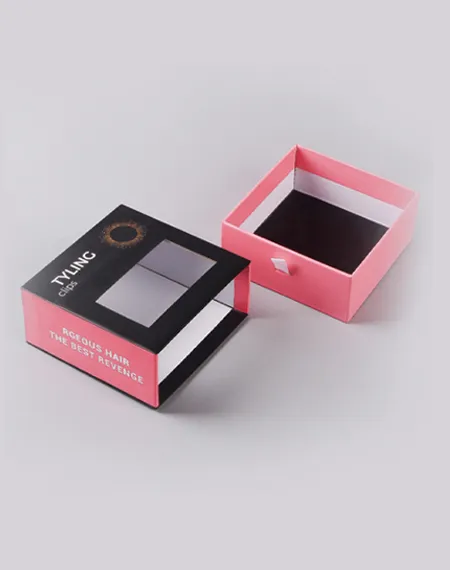
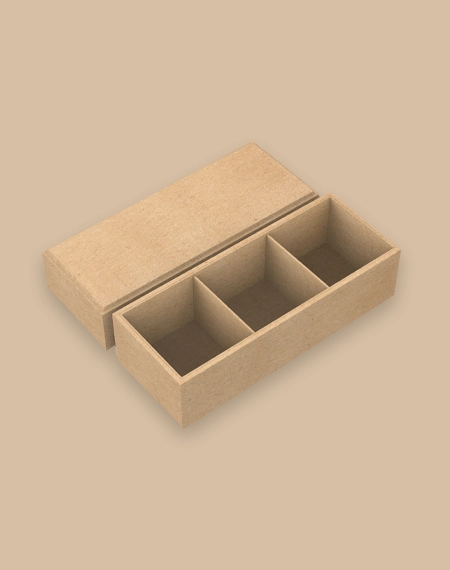
Packaging add-ons affect both structure and presentation. An insert changes the interior layout and may influence the outer dimensions. A window introduces a new relationship between the product and printed front panel. Ribbons, magnetic closures, or other selected details can shape the opening sequence and where the artwork should lead. These elements should be identified before the dieline and artwork are treated as final. Board, paper-based, foam, cavity, or blister insert options can be considered according to the product and project. Windows, ribbons, and magnetic closures may also be evaluated where they suit the box style. Coordinating them early allows the exterior, interior, and opening experience to be planned as one package.
An artwork check can identify placement concerns involving folds, seams, closure areas, panel orientation, or selected finishes. A digital proof then gives the project team an opportunity to review the proposed layout before production moves forward. Confirm the product name, brand details, panel order, colors, graphics, and finish locations as part of that review. Use clear file organization throughout the project. Keep the latest artwork, approved dieline, brand references, and proof details together, especially when several product variants are being developed. A disciplined review process reduces confusion between versions and gives everyone a shared packaging reference. It also makes later updates easier when a product size, structure, or graphic element changes.
Include the product type, dimensions, weight, intended use, preferred box style, material direction, quantity, artwork files, brand colors, insert needs, and finishing choices. Explain which panels customers will see first and how you want the package to open or present the product. If your artwork is incomplete, identify the content you have and the areas where design assistance is needed.
Verified feedback from real packaging buyers.


Answers to Help You Order with Confidence
A packaging dieline is a working map of the box’s panels, folds, seams, closures, and opening areas. It helps coordinate the artwork with the actual structure and dimensions of the package.
No. Share the content, logos, brand colors, product details, and visual direction you already have. Artwork and design assistance can be discussed for the areas that still need development.
A dieline should match the selected structure and exact box dimensions. If the size, closure, panels, insert, window, or structure changes, the dieline and artwork should be reviewed again before production.
A digital proof allows the project team to review the proposed panel layout, artwork placement, text, graphics, colors, and identified finish locations. It provides a review step before production moves forward.
Provide the product type, dimensions, weight, preferred box style, material, quantity, artwork, brand colors, insert needs, finishes, and intended use. Product photos, samples, or a packing layout can provide additional context.
Custom Boxes Inc is a leading manufacturer and supplier of custom packaging boxes tailored for every product and industry. From startups to global brands, we empower businesses across the USA with cost-effective, high-quality, fully personalized packaging solutions — crafted with precision, delivered with speed. Whether you need eco-friendly cardboard boxes, rigid luxury boxes, or branded retail-ready display packaging — we've got you covered with endless customization options, low MOQs, and lightning-fast turnarounds.